I’m new to this wide world of Slack, but its dead simple design is already changing how I collaborate. Some buddies stood up a team for talking through side projects, and it’s been a terrific resource.
Except for our chum, Harrison. Harrison is not as on the bleeding edge of technology as some folks, and thus is not participating in our team. We miss Harrison. Therefore, when I saw that Slack supported bots, my first thought was: “gotta make a Harrison Bot.”
To get this wired up will take a few steps:
- Create the NodeJS application
- Deploy the application to a new Azure Web App
- Setup Slack to use the app
Creating the NodeJS bot
There is a stellar guide over at SitePoint that goes into detail for creating the bot. I used the first half of the guide, covering Outgoing WebHooks Integration, for the bot creation.
The guide covers returning a simple “Hello username”, but I wnated to take it a step further. When the trigger word “Harrisonbot” is used, I’d like the bot to respond with one of several canned responses.
I defined a “responses.json” file to hold an array of goofy responses for Harrisonbot to say.
[
  "I can't see above the counter at Subway. I never know what they're making me.",
  "I've always thought that Barry Obama has great calves.",
  "Nicholas Sparks is the beneficiary in my living will.",
  "Who's your favorite supreme court justice? Mine's Mister T.",
  "My favorite drink as a child was Rich Chocolate Ovaltine and Bourbon. Neat."
]
Splitting out the array into a separate file should make it easier for people to submit pull requests, extending the variety of responses.
I then extended the SitePoint tutorial’s hellobot.js file to return a random response.
var _ = require('lodash');
var responses = require('./responses');

module.exports = function (request, response, next) {

  // store username
  var userName = request.body.user_name;

  // create a payload to send back
  var botPaylod = {
	text: _.sample(responses) // use lodash's sample function to grab a random string from the responses array
  }

  // avoid an infinite loop
  if (userName !== 'slackbot') {
	return response.status(200).json(botPaylod);
  }
  else {
	return reponse.status(200).end();
  }

}
The Lodash library is chalked full of helper functions to make JavaScript easier to use. It happens to have a great function for grabbing a random item in a collection that I used to make the code simpler to read.
Deploying to Azure
The SitePoint guide deployed their bot to Heroku, but what if we want to utilize Azure Web Apps? Fortunately, the setup is not too different.
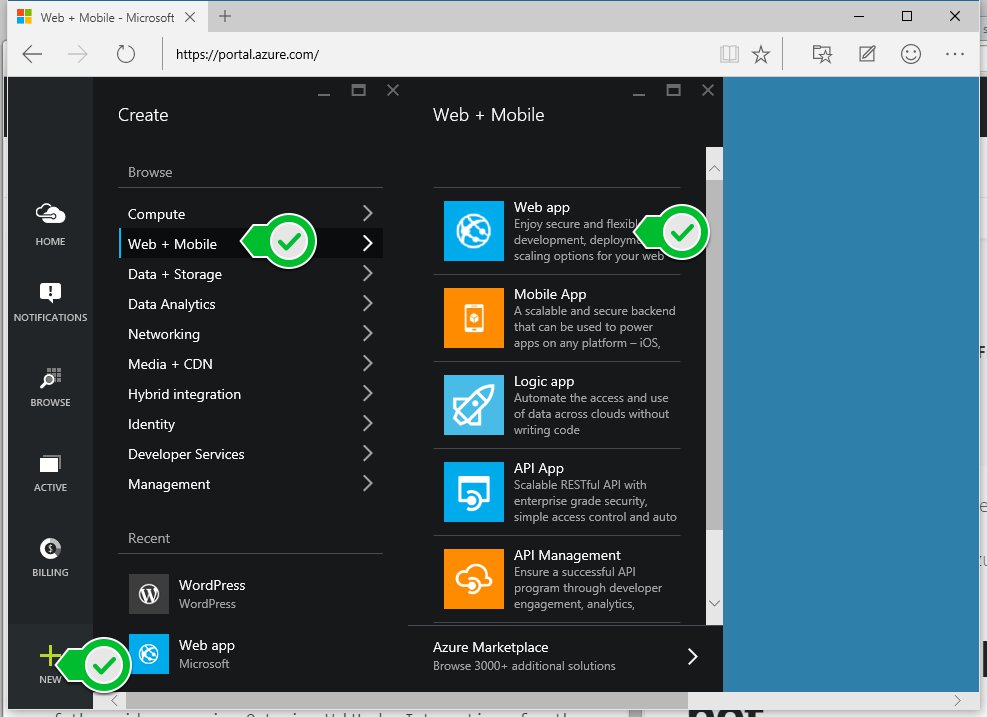
First, we’ll create an Azure Web App. From the Azure Portal, hit the “+” button, then from the “Web + Mobile” section hit “Web app”.
Give it a name/service plan /resource group and hit “Create”. Voila! Instant web app.
Next, we can setup continuous integration between the web app and our GitHub repository. Browse to your new web app in the Azure Portal, and scroll down to the “Deployment” section
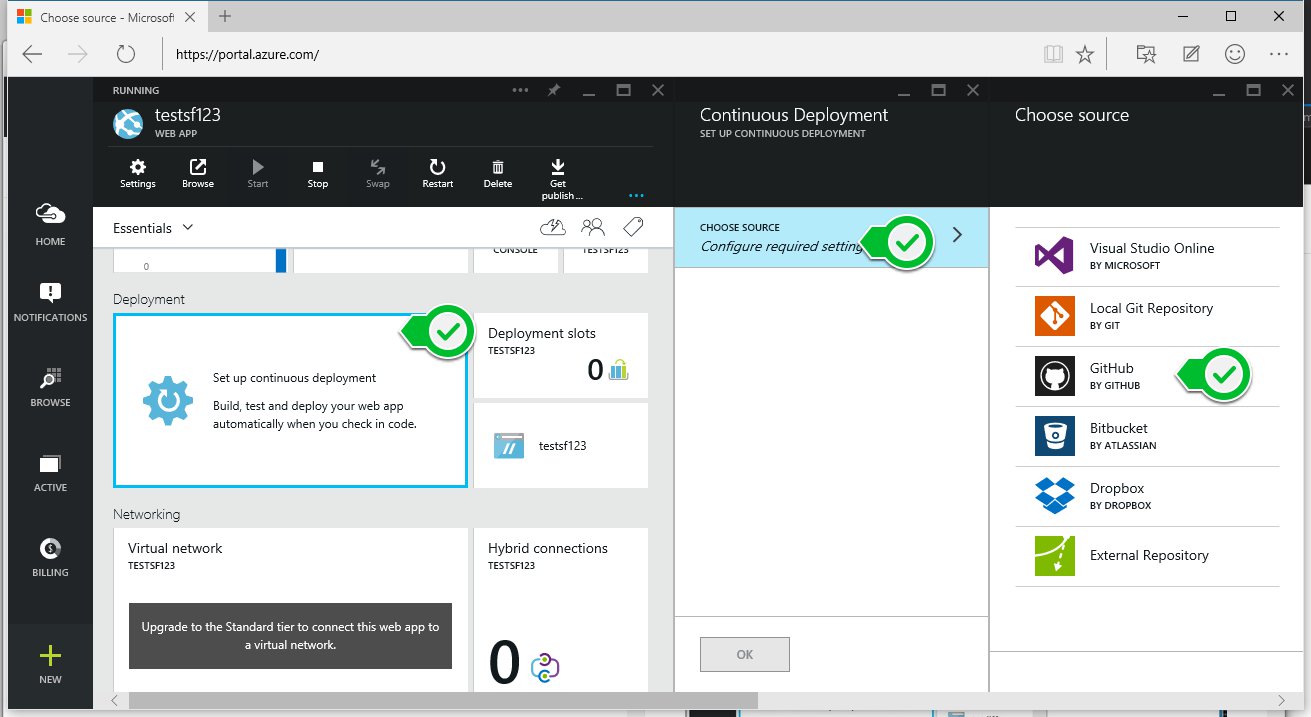
Select the “Choose Source” button and then the “GitHub” link.
The Portal will have you sign into your GitHub account, where you can then select a repo and a branch.
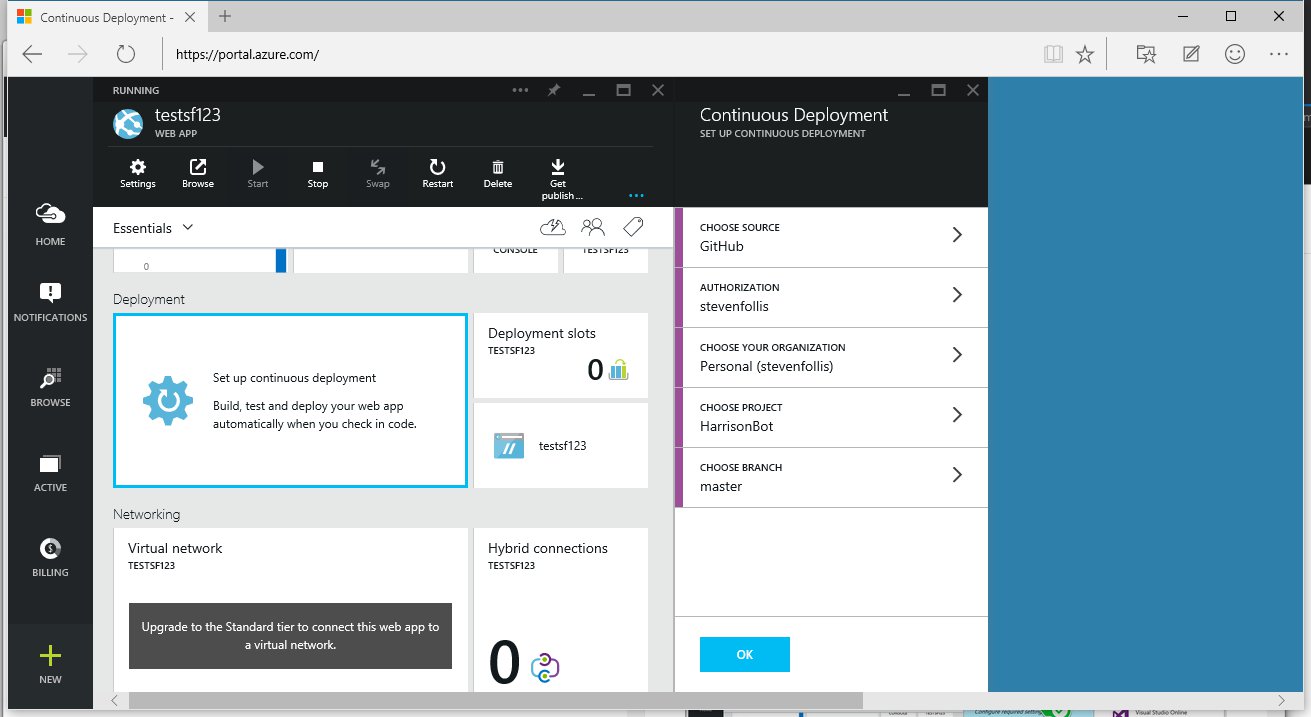
Hit OK and a deployment will be kicked off. Anytime the GitHub repo is updated, a deployment will be kicked off for the Azure Web App, easily keeping your app in sync.
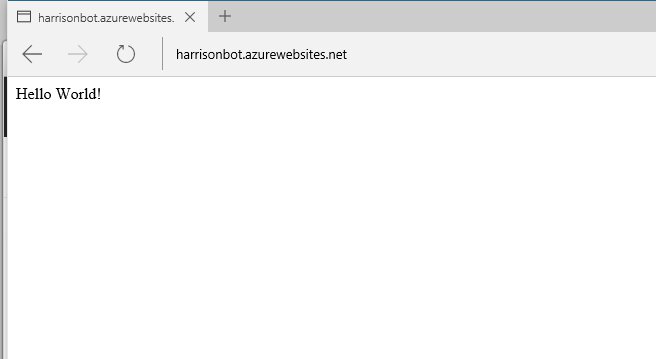
Navigating to the Azure Web App’s URL we can see our simple test route for all GET requests to “/” (from app.js).
With a web app now created and deployed to a public URL, we’re now ready for the Slack integration.
Configuring Slack to use the Azure Web App
Navigate to http://slack.com/services and sign in to your team. You should be greeted with a screen full of potential integration options.
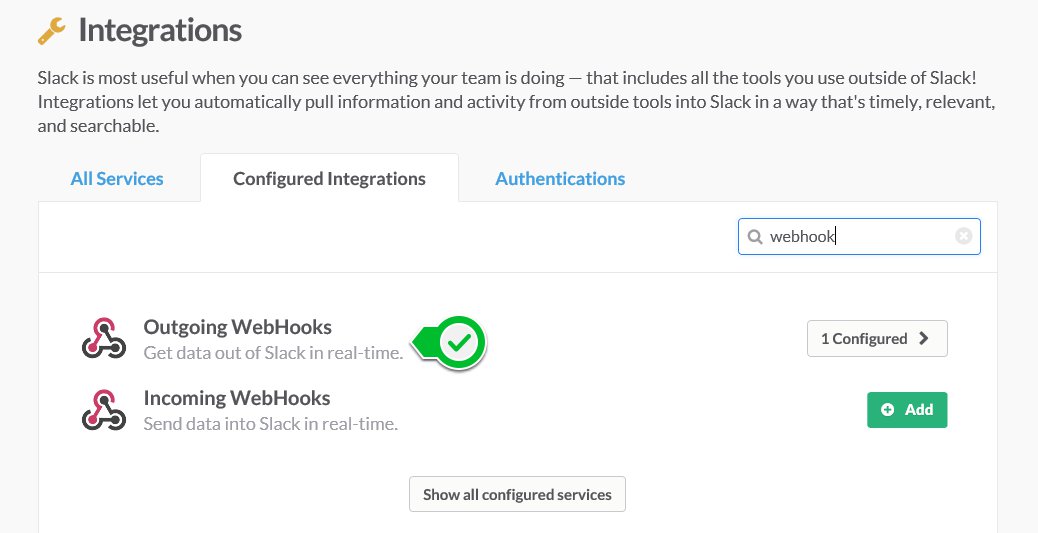
We’re after the Outgoing WebHooks option. This integration works by identifying when trigger words are used, and then kicking off a POST request to a specified web service endpoint. We’ll be pointing this at our Azure Web App, so click the green “Add” button to the right of it to get rolling.
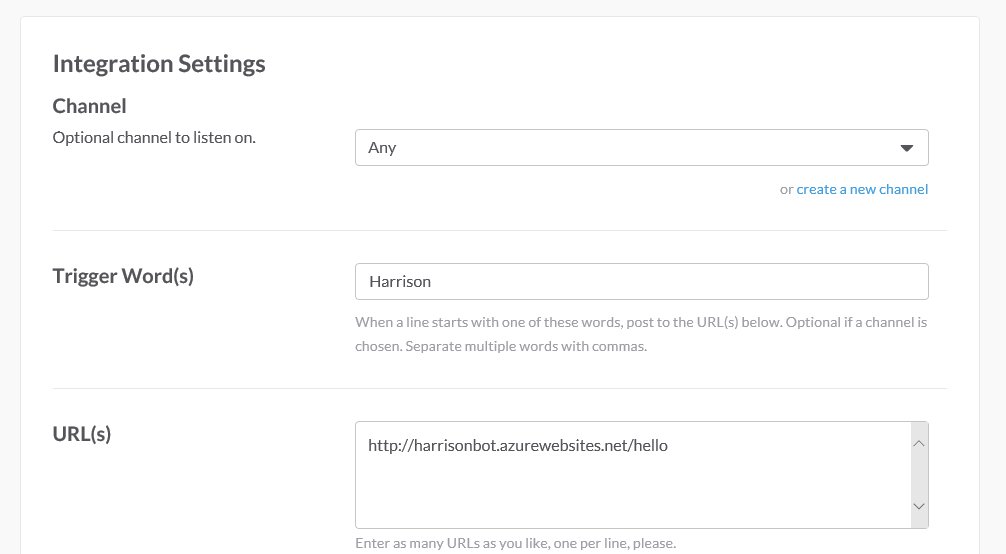
The important piece of the configuration screen is the Integration Settings section. Here we can target only certain Slack channels, define our trigger word(s), and point the URL of our app. In our App.js we defined the endpoint as “/hello” to kickoff our hellobot functionality, so we use that endpoint.
Also be sure to set a description, name, and icon for the bot.
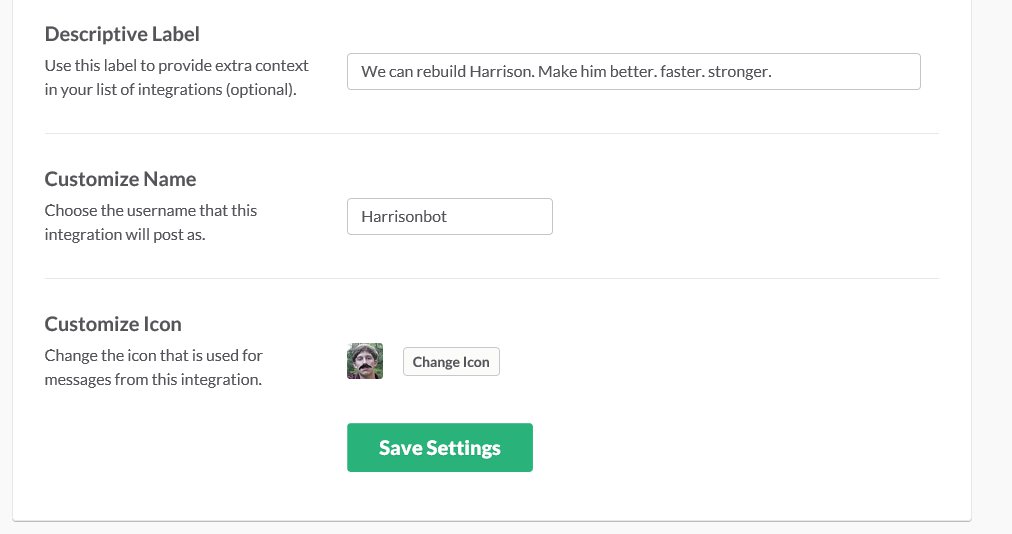
As soon as we “Save Settings” the bot is active! Head over to a channel give it a whirl.

Wrap up
Bots are a great way to add features and functionality to Slack conversations. NodeJS makes the bot logic straightforward to setup, and pairing with Azure Web Apps makes deployment a snap.
The actual code for Harrisonbot can be found in GitHub. Thanks!